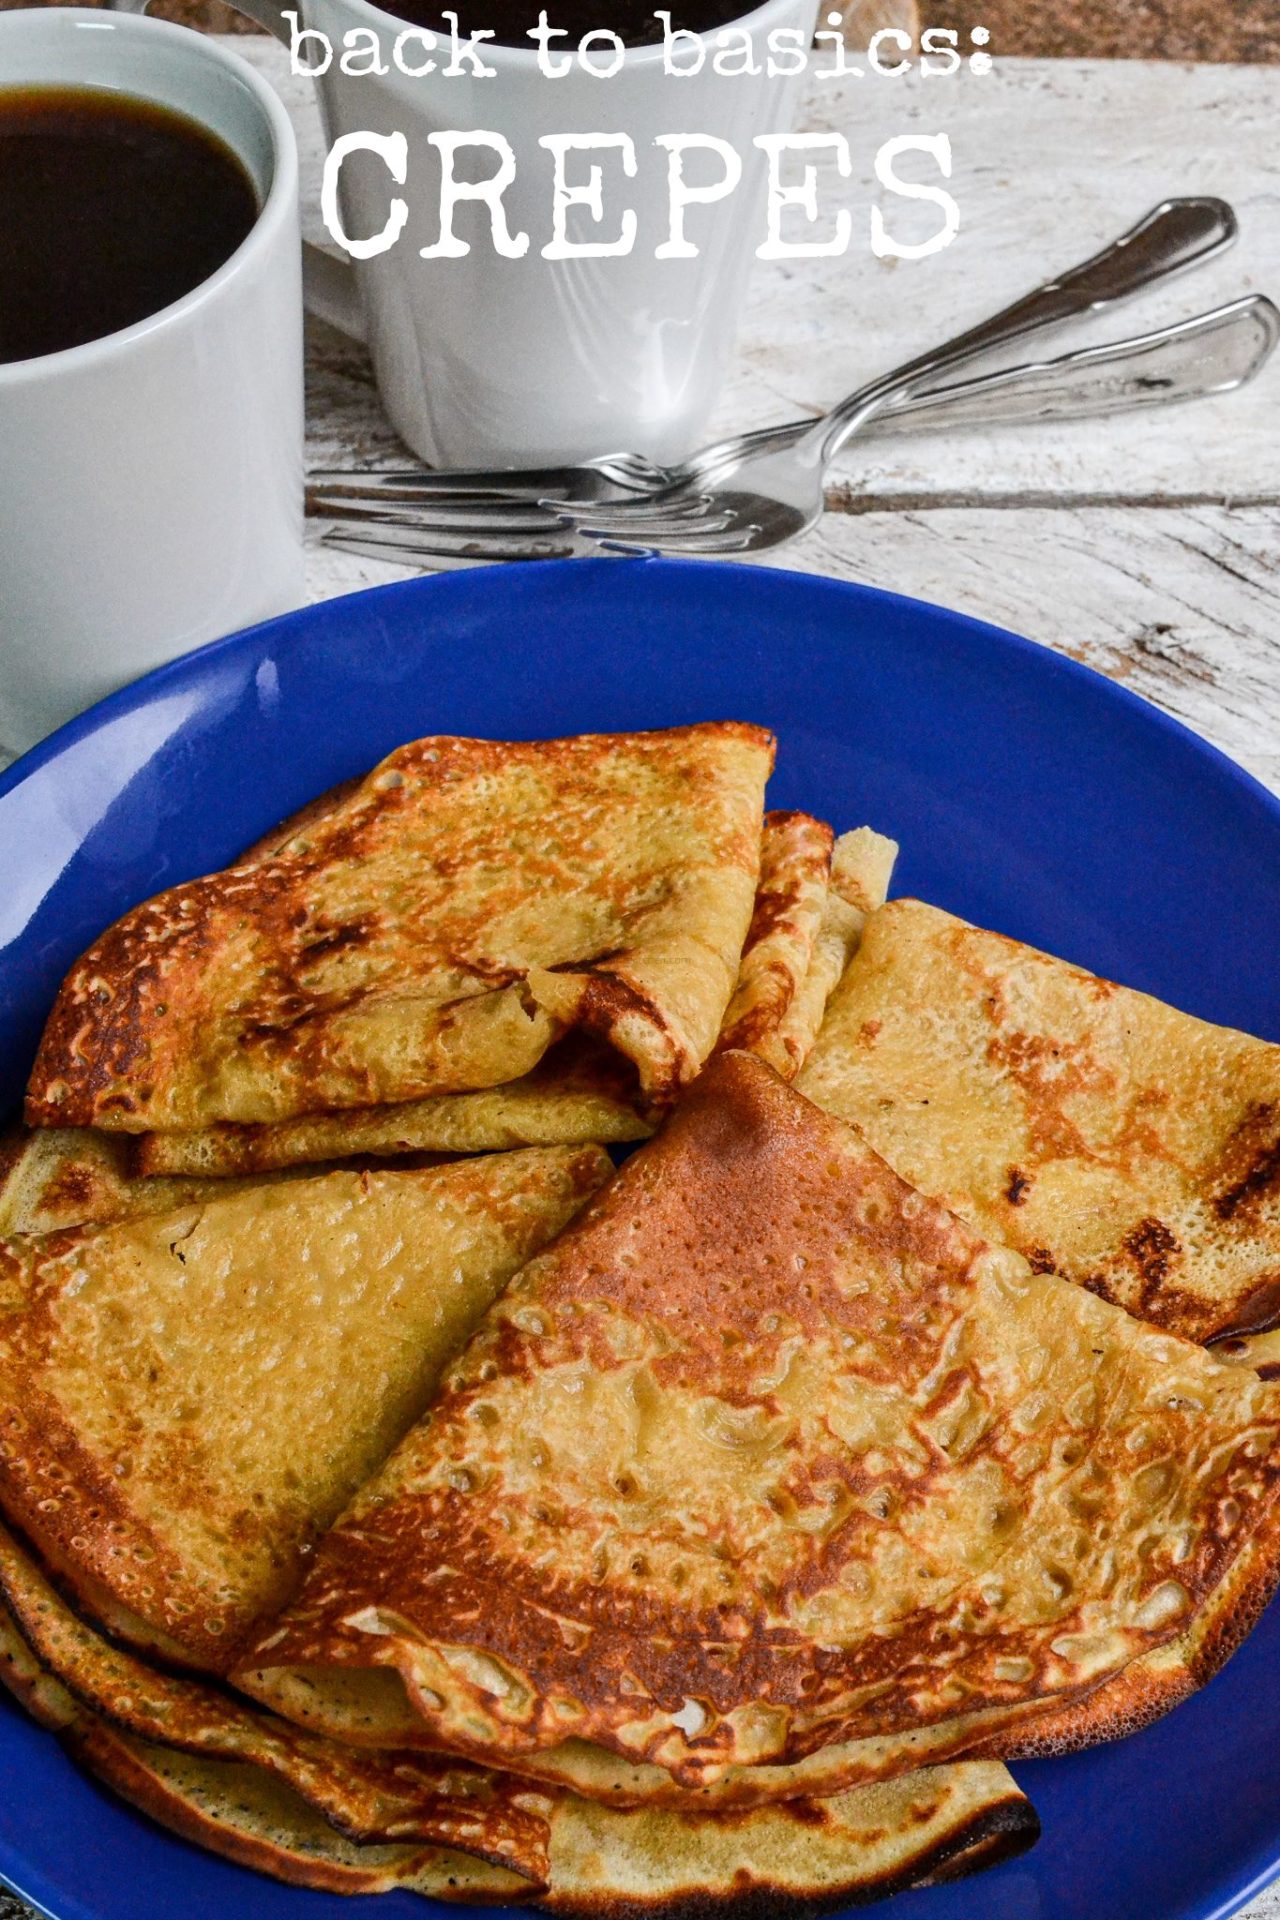
Weekends at home have often started with hearty breakfasts. It would be anything really but it would always be super special. I specifically love it when mom makes drop scones. I swear no one does it better than her!! My elder sister does make the best crepes. Well I do too, but I prefer sleeping till 11 a.m. and not have to cook too early in the morning lol. We are now grown and we all participate in the breakfast process, we all contribute in different ways. Think kebabs or samosas or pancakes or loaf cakes… it could be anything. And in my home, I now also make sure that weekend breakfasts are just as yummy. If you follow me on Twitter, you know crepes often feature. And upon your request, today we are going to do the foundational crepe recipe which I hope you will really enjoy!
PREP TIME: 5 MIN COOK TIME: 15 MIN MAKES: 8
Ingredients
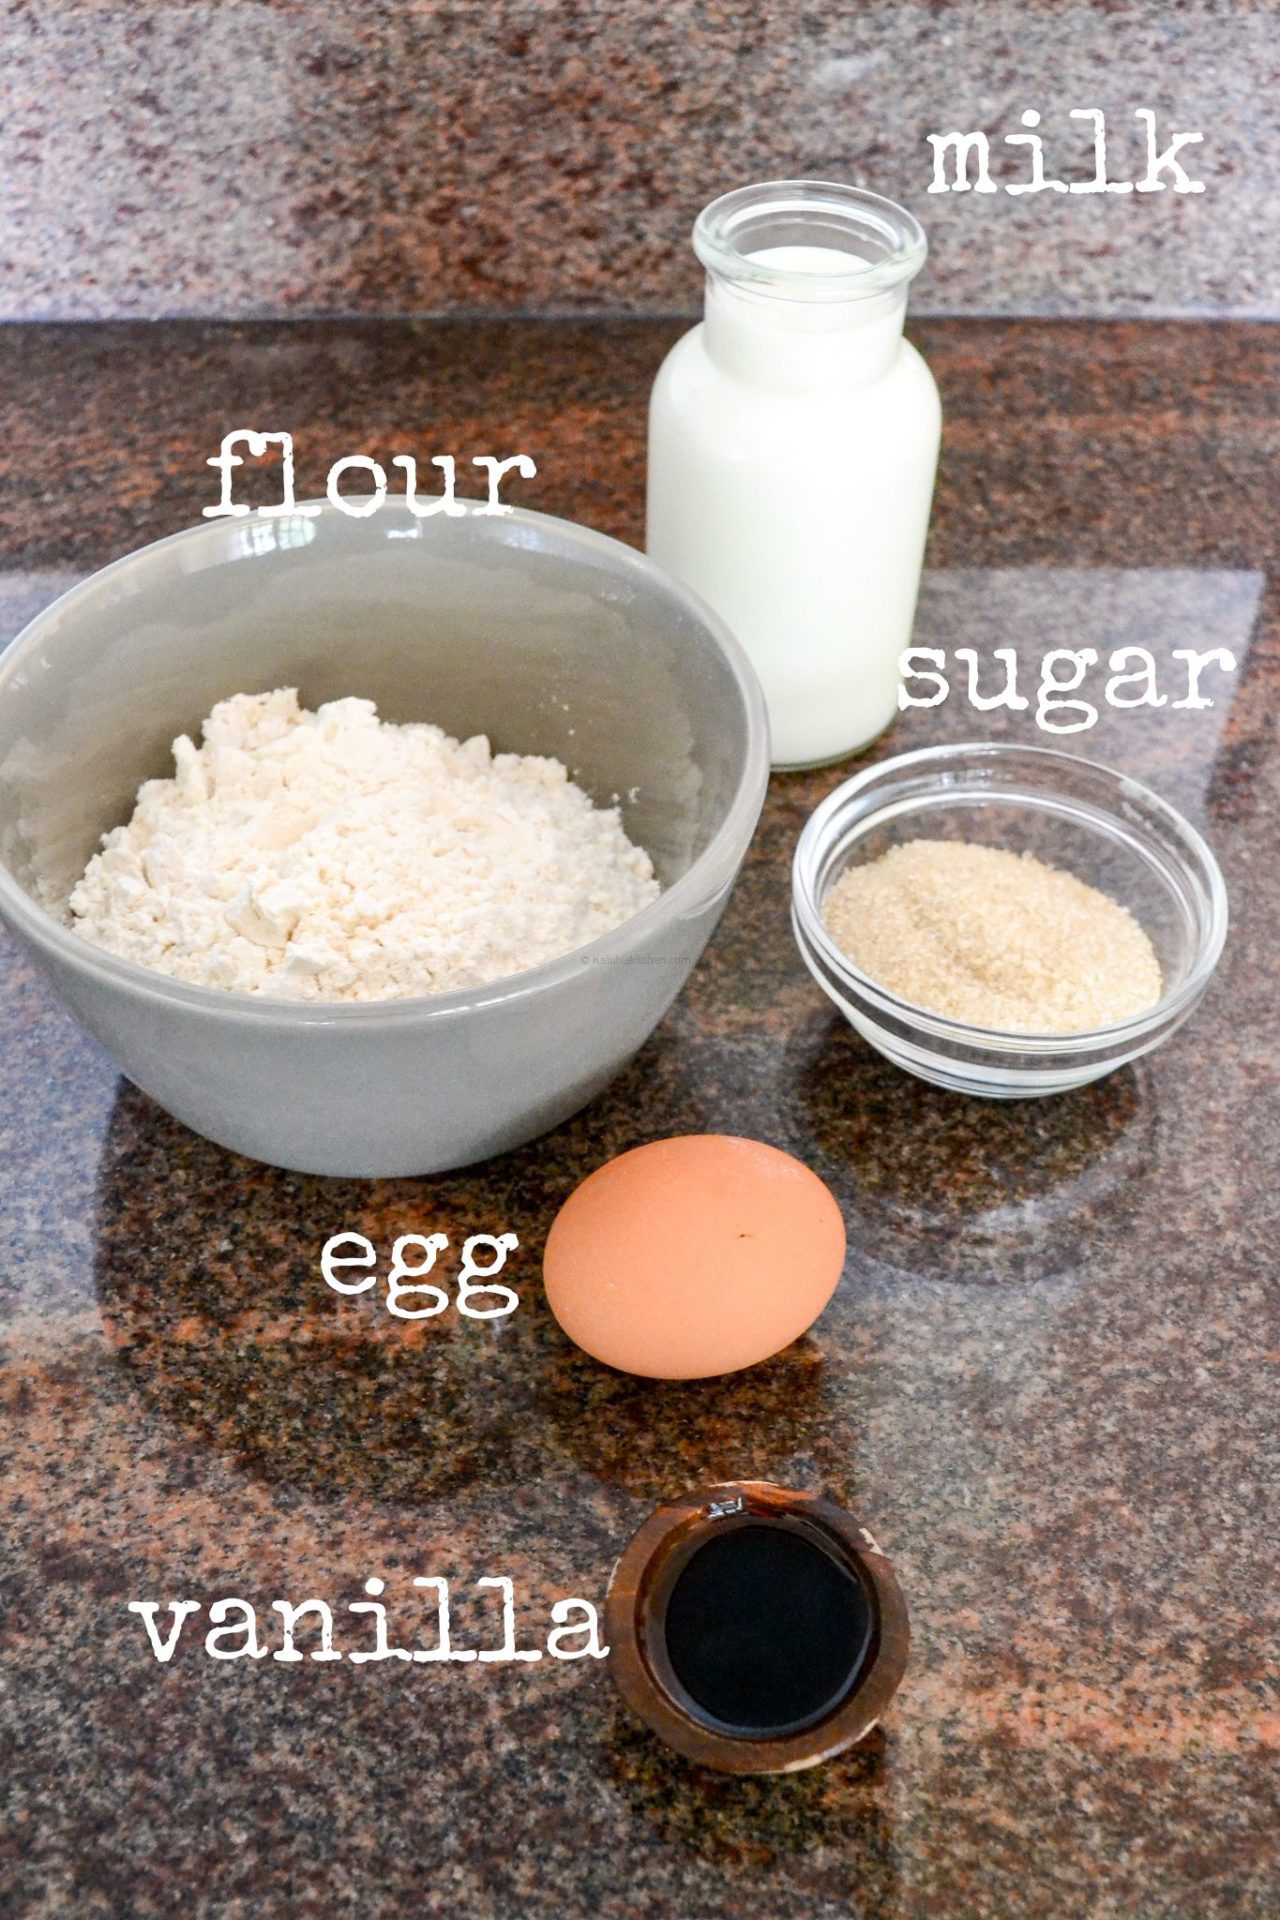
8 heaped tablespoons of all purpose flour
380ml / 1 ½ cup of milk
3.5 tablespoons of sugar
1 egg
1 tablespoon of vanilla
Butter/Margarine to grease
***
Kenyans call Crepes, Pancakes. I have no idea where the origin of that is from however to me, it is not a big deal. The real, authentic name is crepes, but the ordinary Kenyan will call them pancakes. For this post, we shall use the authentic term- crepes. I explained the difference between crepes and pancakes on this tweet (if you do not follow me on twitter please do, I live there!).
They are crazy easy to make. I think even impossible to get wrong or make ugly. In my opinion, what determines their lightness/softness is the viscosity of the batter. And what allows them to get a golden brown color is greasing your pan with batter/ margarine and NOT oil. There are many many ways you can cook your crepes, but you need to master the foundational recipe first before you graduate into different variations.
Let’s get into the cooking!
Method
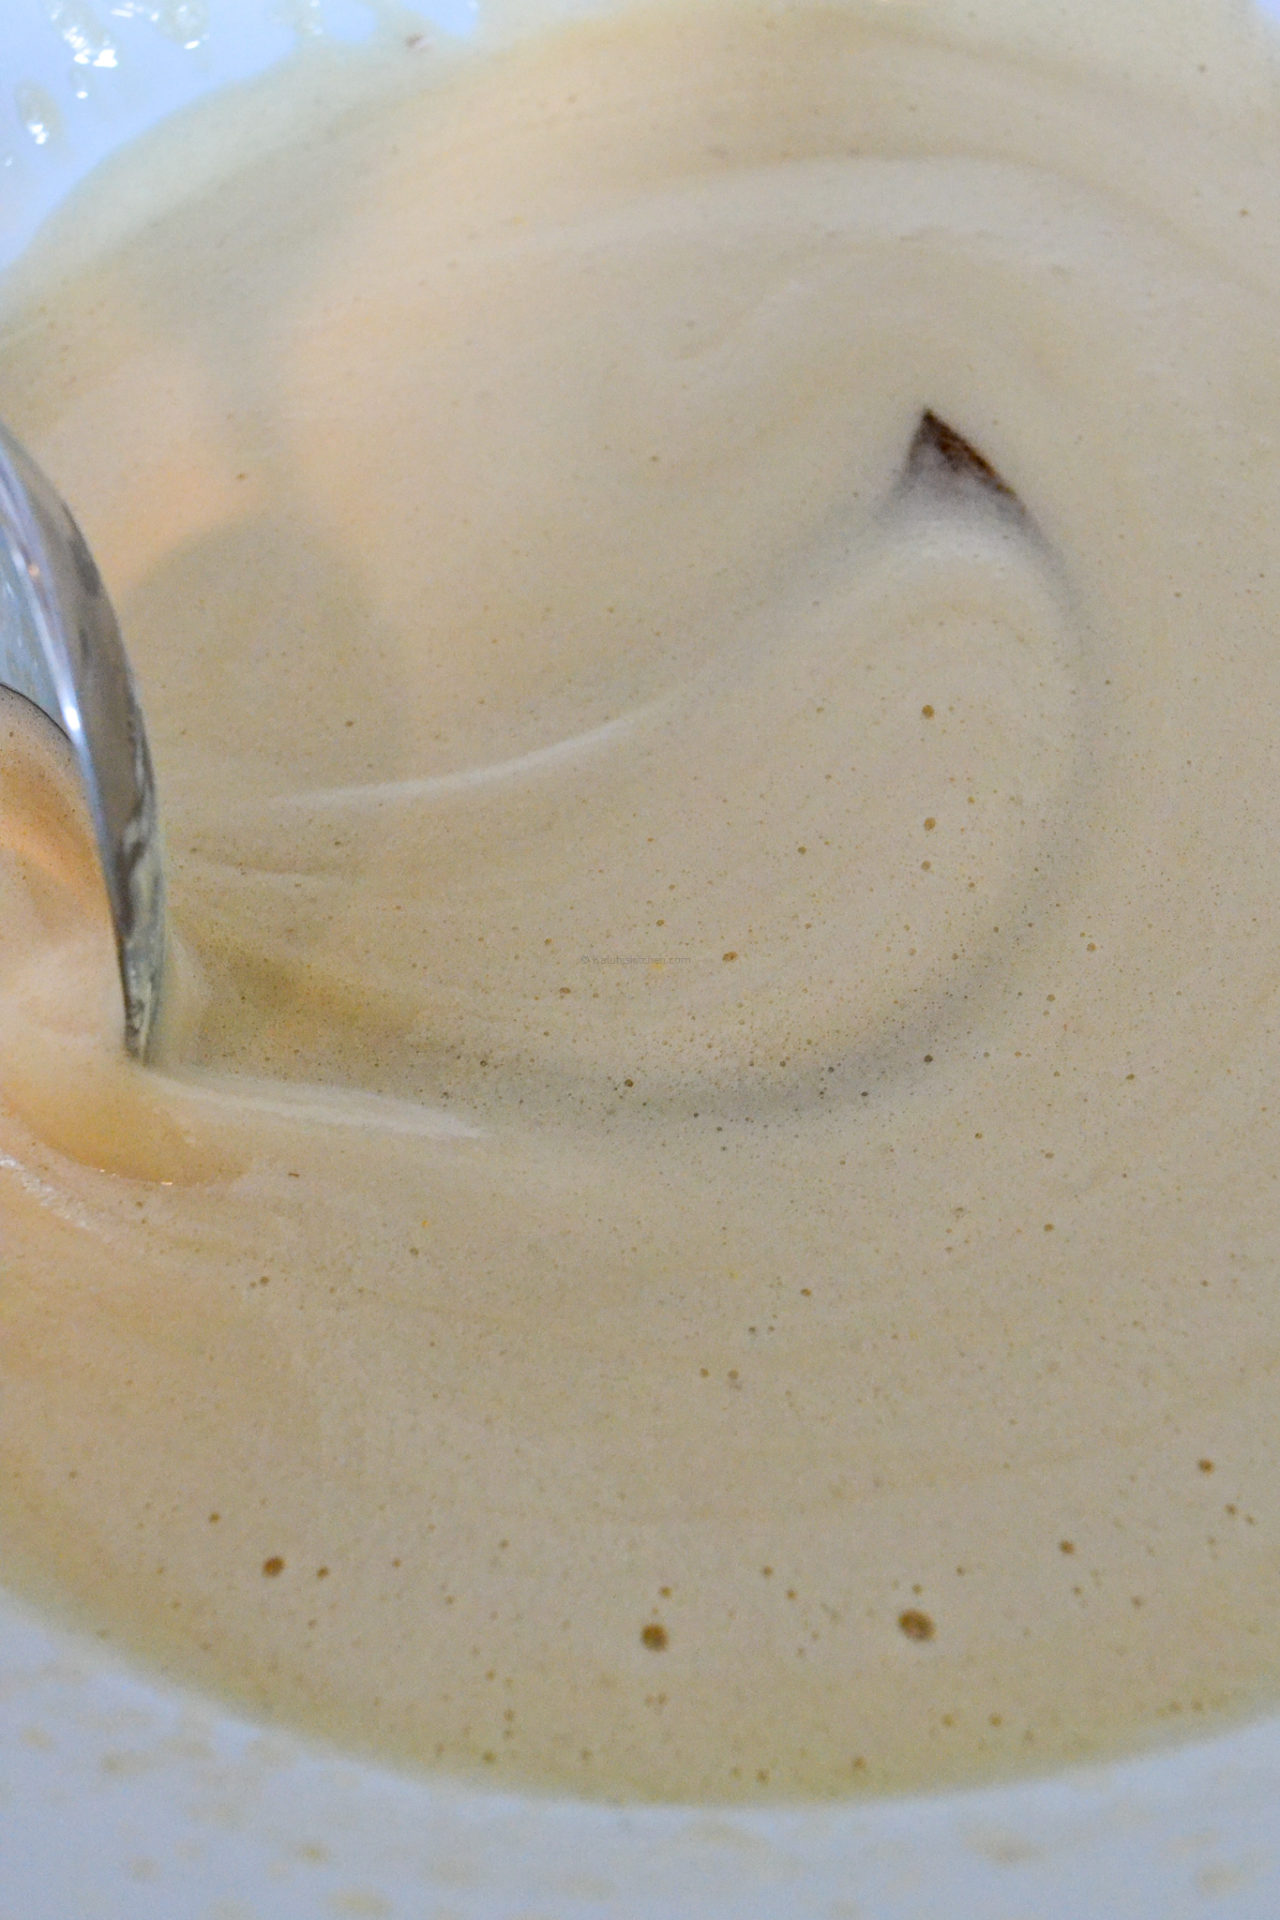
Begin by mixing whisking together the eggs, sugar and vanilla extract/essence until pale yellow and frothy. The vanilla is optional, but it makes for an excellent aromatic ingredient for crepes. You can use almond extract or any other aromatic extract you personally prefer.
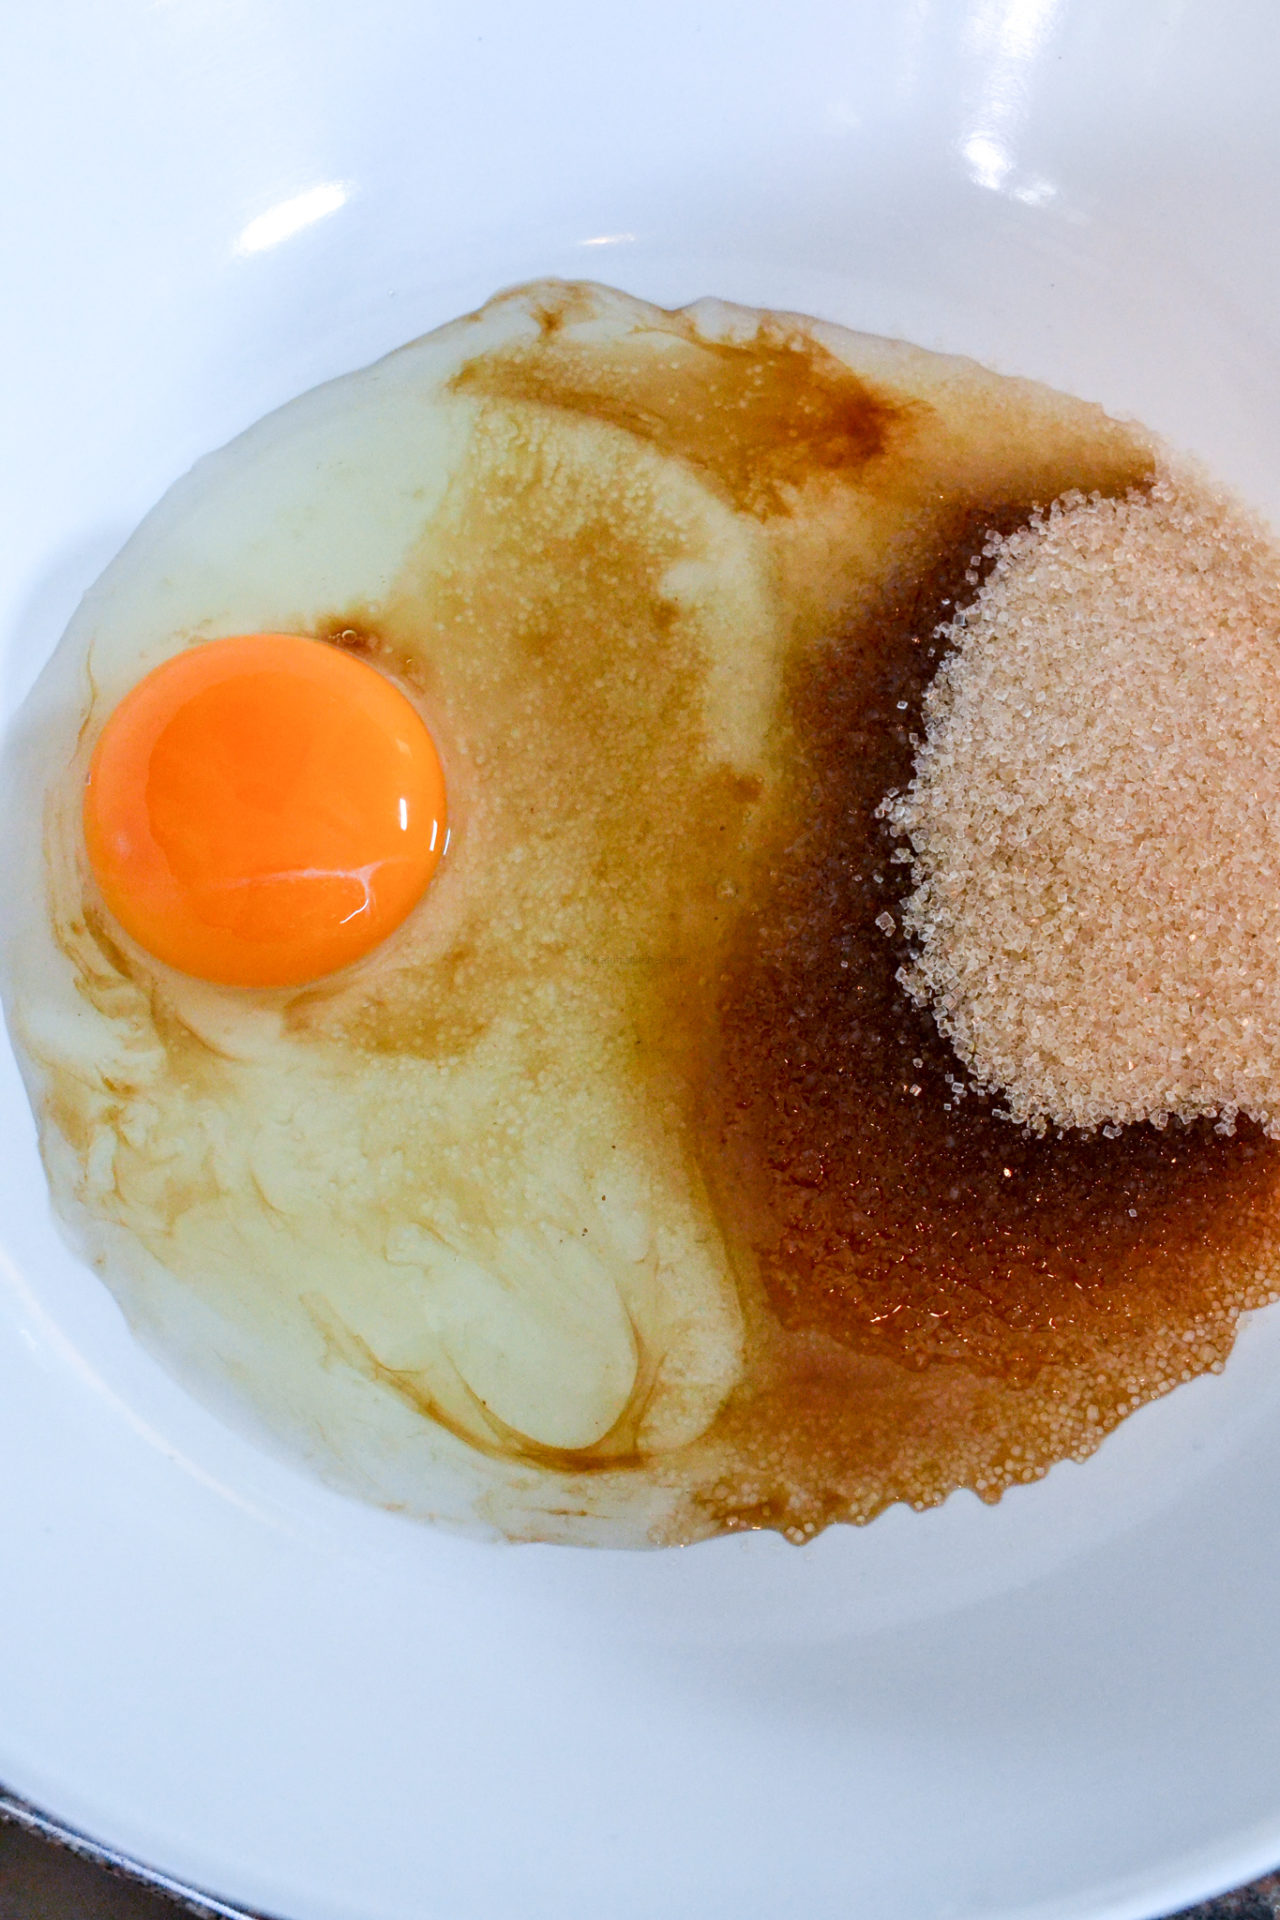
The sugar is the specific ingredient in the batter that browns when cooked. When the sugar is mixed in well, the crepes will brown well. The mixing will take about 2 minutes, so invest that small period and do not skip it.
You can see the color and frothiness I am referring to from today’s video at 2.55.
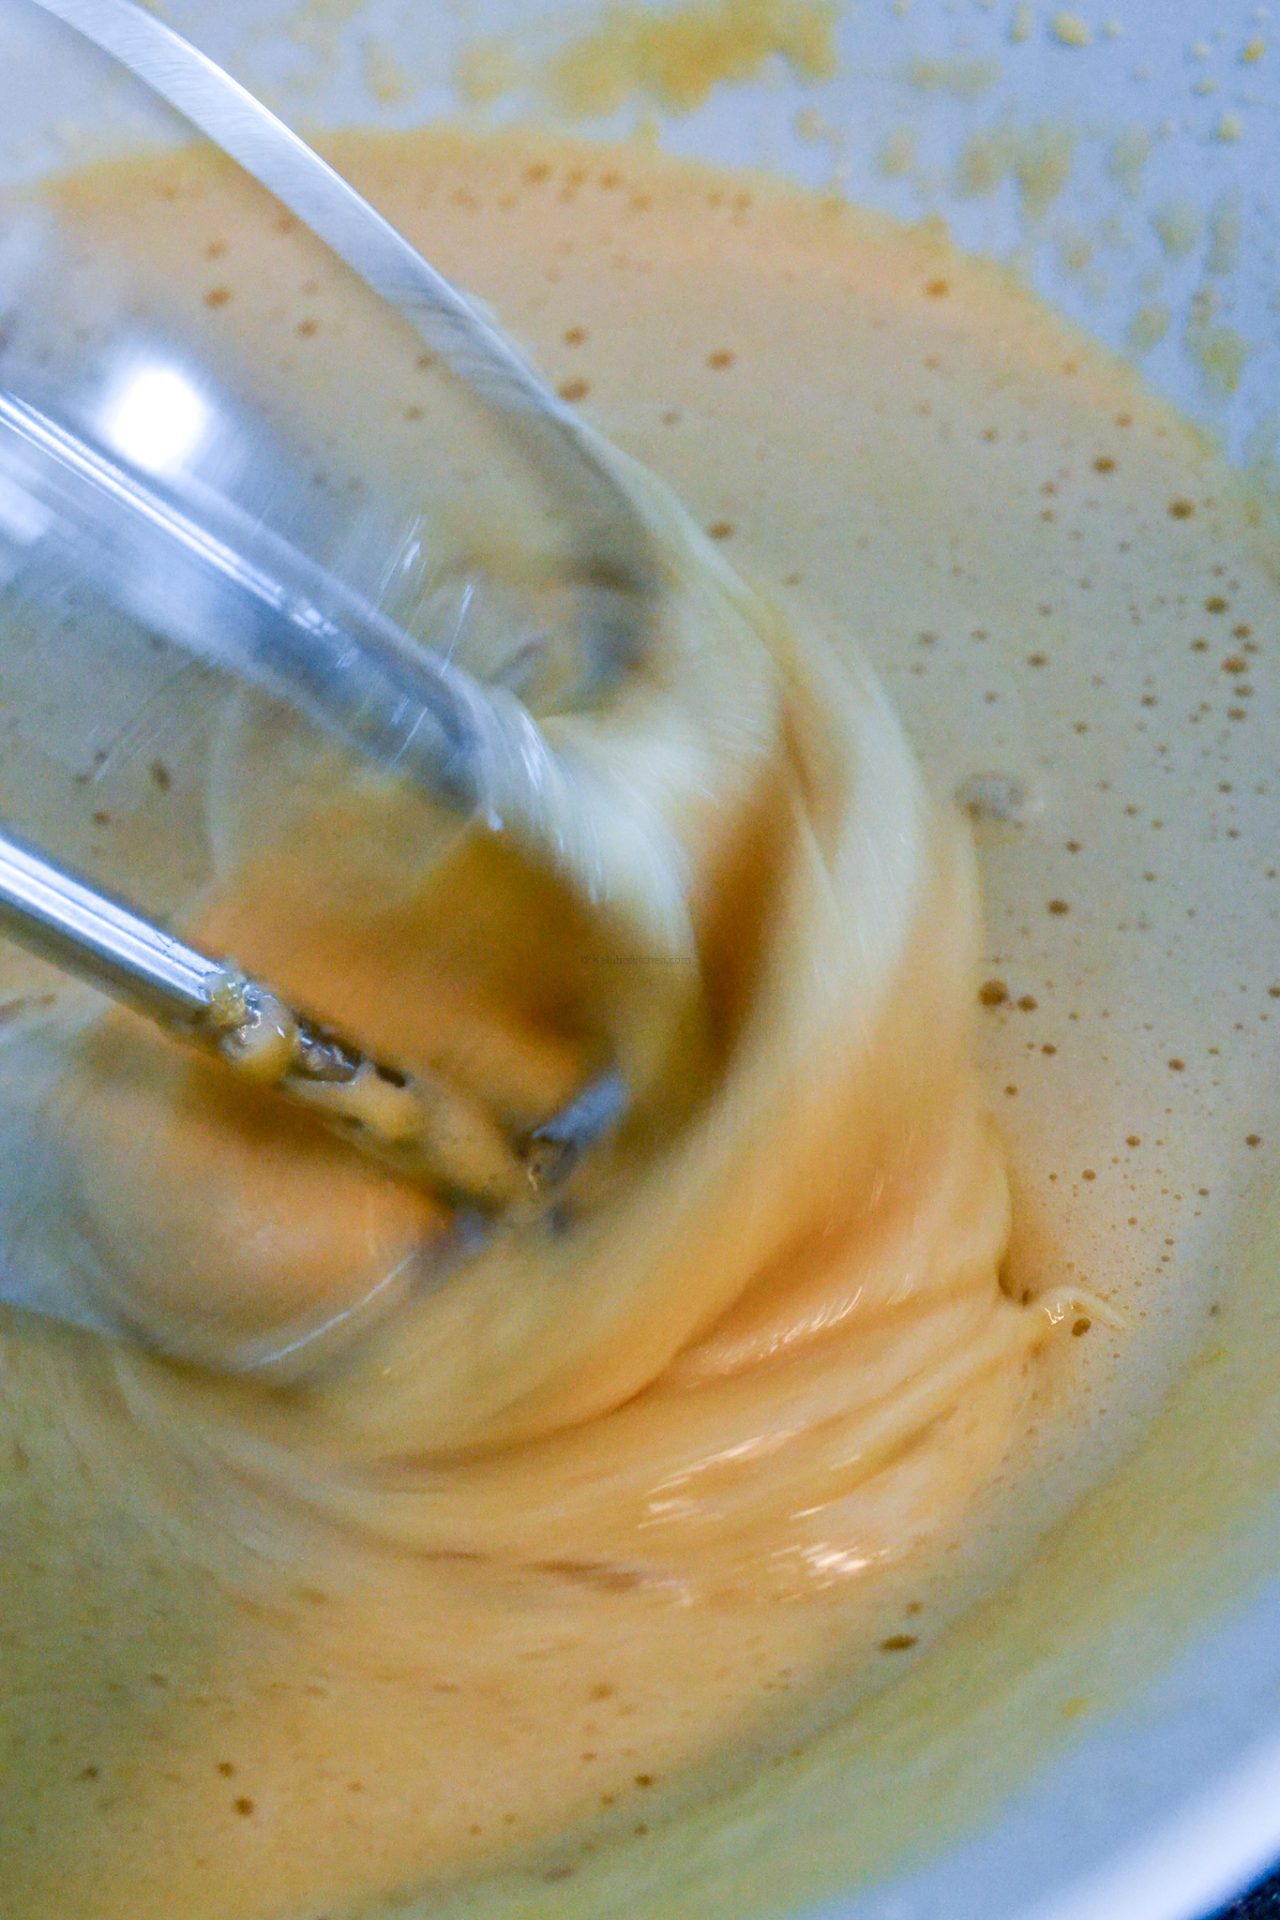
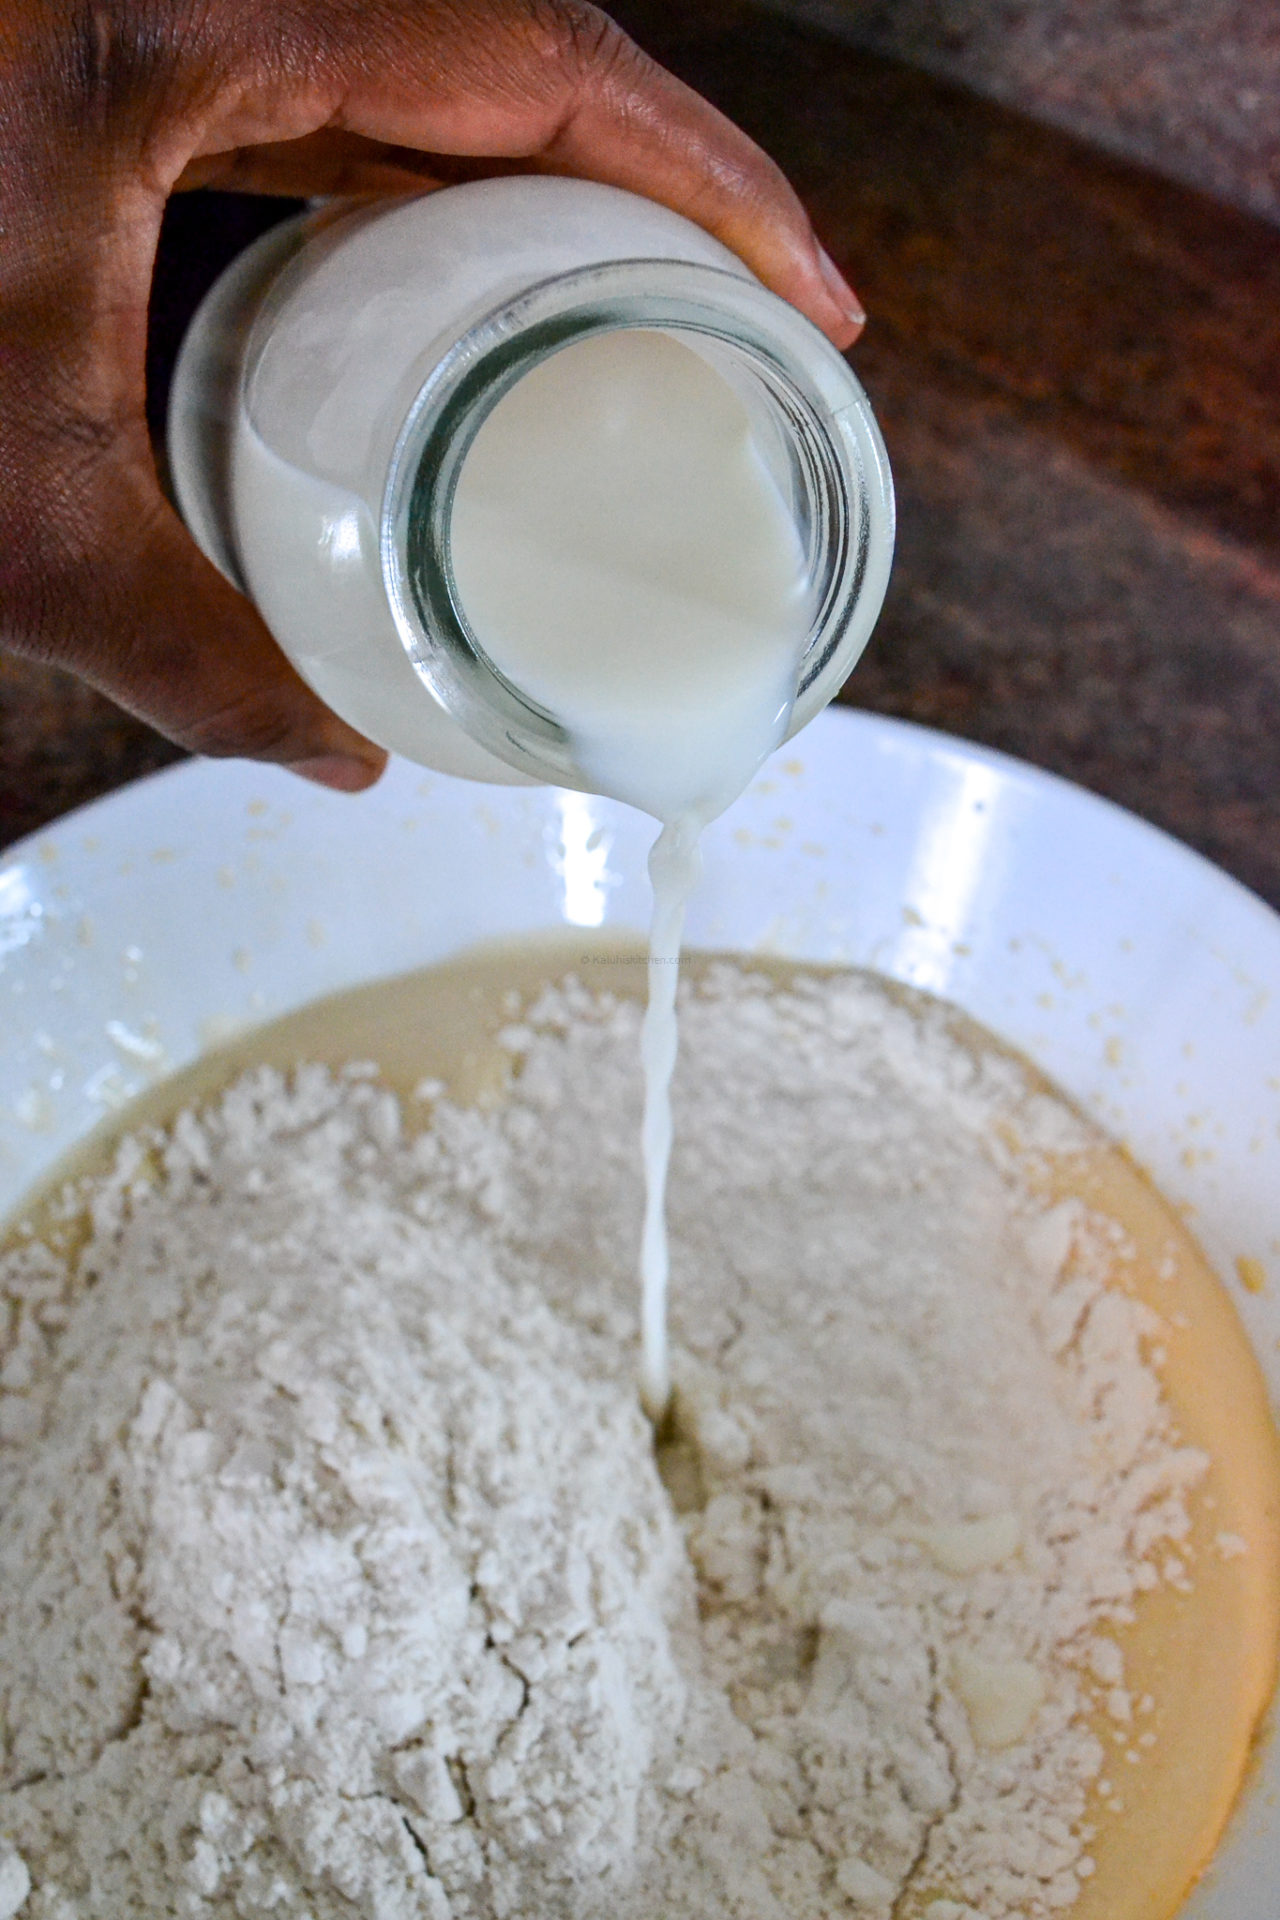
Add in the flour and the milk and give it one more whisk until completely combined. Some people use water, I would advise you to use milk -always use milk – and you will see the difference it makes in terms of flavor and texture.
***
“Kaluhi, can I use Self-Raising flour in place of all-purpose flour for my crepes?”
No babe! Self-raising flour has a leavening agent, that means once heat comes into contact with your batter, air pockets are produced making the end product rise and thicken. This also means, no baking powder or yeast should be added to your batter. Crepes should be thin and paper-like, and to achieve that, only all-purpose flour should be used.
***
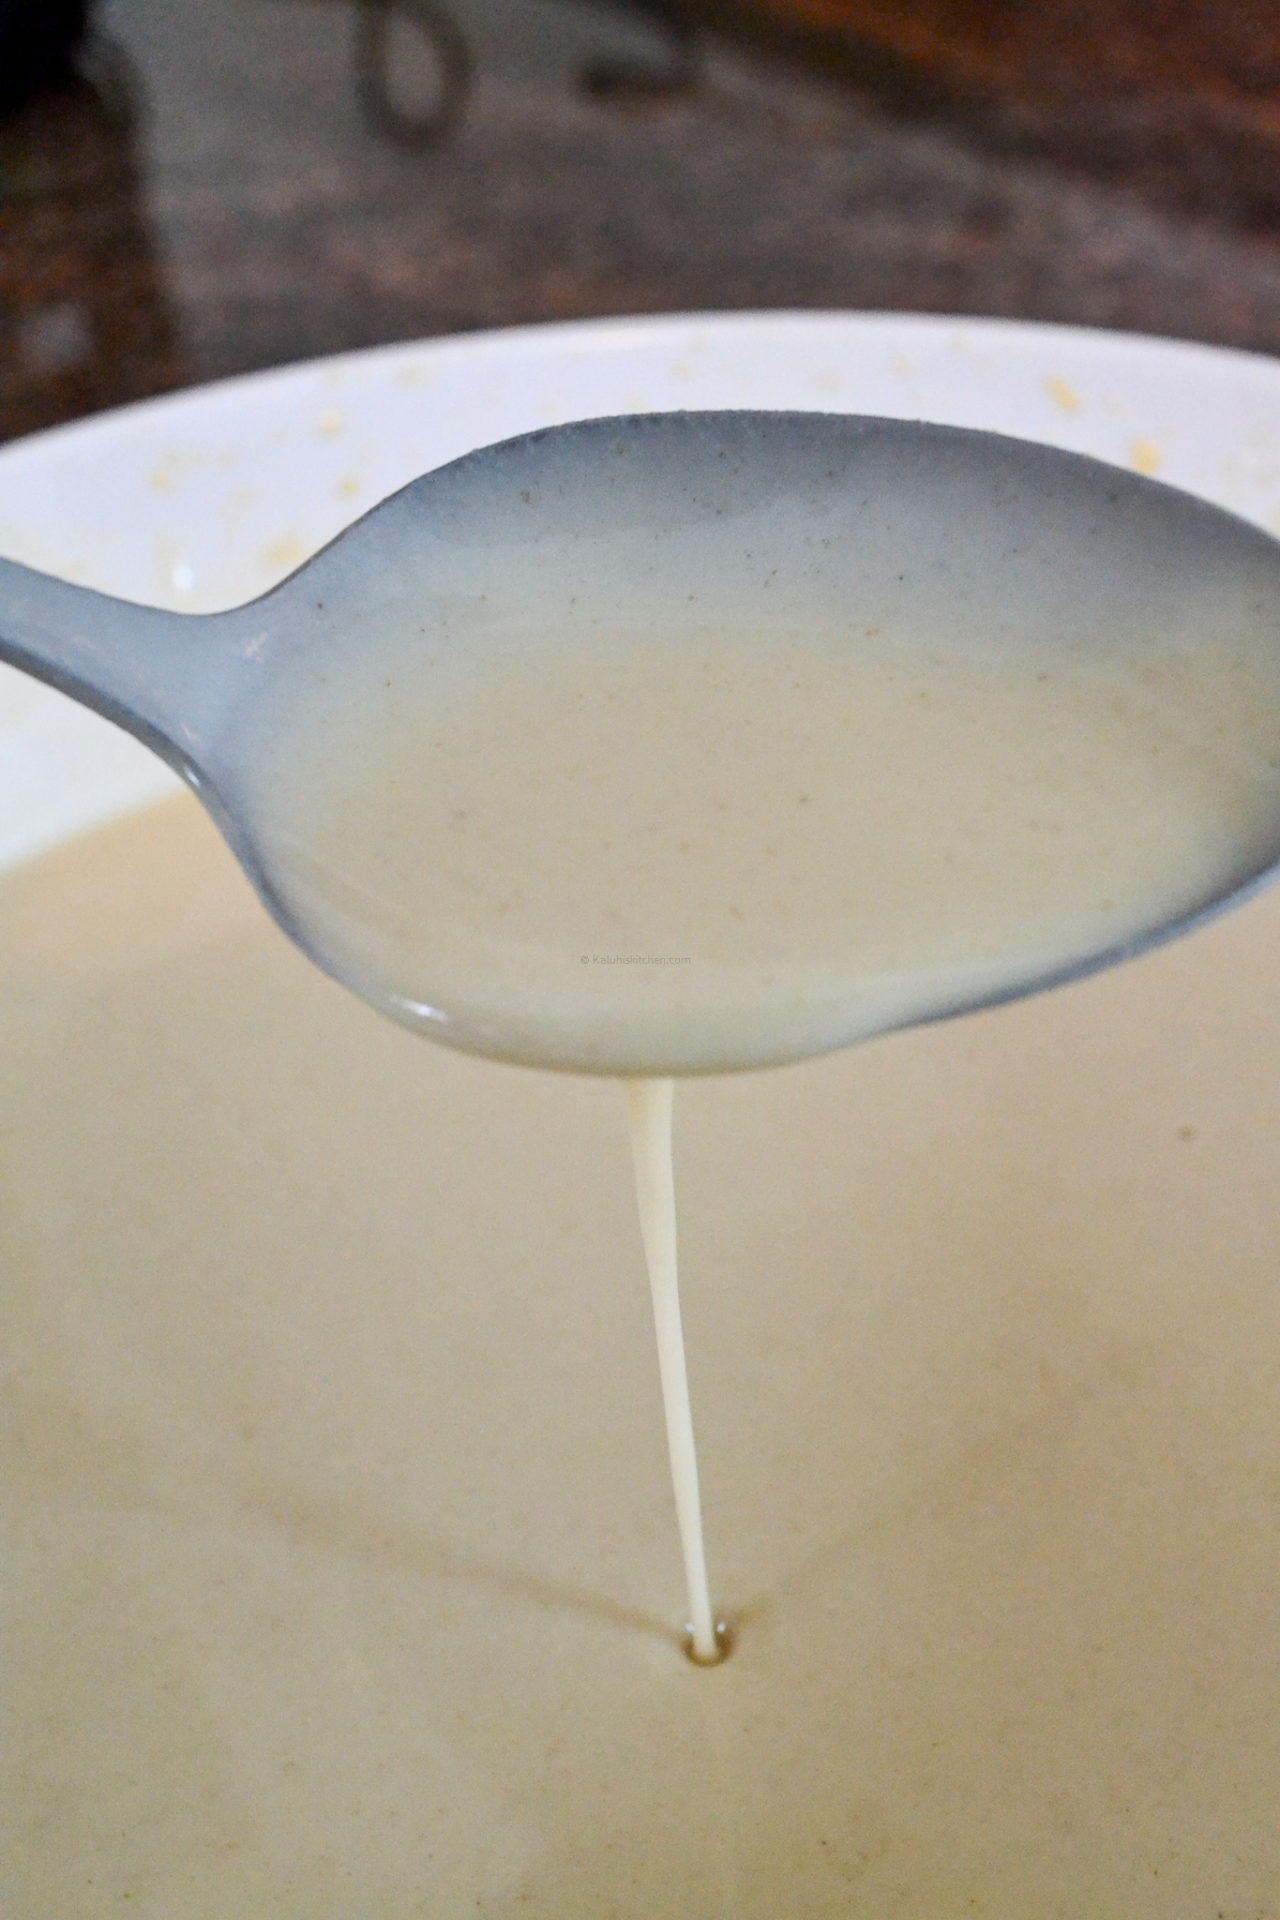
The quantities I have given you will produce 8 crepes; you may however feel like making more depending on the needs of your family. As you adjust upwards, always remember that the consistency you should achieve must be that of a light yoghurt. The pourable consistency of your batter should be your guide. A thick batter will give you stiff crepes, you definitely do not want that. A light consistency is what will give you super thin, paper-like, easily foldable and rollable crepes.
The video shows the consistency best, and you can see that at 4.48 – 4.52.
With the batter done, we go straight into cooking. You will need a pan that is lightly greased with some butter/ margarine. I showed you in today’s video (6.14) just how much of a thin coating you need. This allows the crepes to cook well and for the browning to really pop. You cannot achieve the same attractive color with oil, trust me on this one. If you cook your crepes with oil, they will have that blank near-death pale look, and my honey we do not want to serve up horror on our plates. Cook with butter/ margarine.
Ladle the batter, swirl until set and cook until both sides.
***
“Kaluhi, when I ladle my batter to the pan, it doesn’t swirl all the way round and when it manages to, the center is thick but the sides are thin. Warrisgoinon???”
Ok hapa there are two separate issues. So the first one: A batter that fails to swirl all the way round your pan may be because of a thick batter. A thick batter is not light enough to make the trip. Add a bit more milk until it is light and then give it a go.
The second issue: a thick center and thin sides may be due to letting the batter sit for a few seconds before starting to swirl and spread it out. The center starts setting and the remainder loose batter that you start to swirl is what gives you the thin sides. It is not a fatal error, however when folding or rolling, you will notice they crack. Once the batter hits the pan usiipatiie muda ya kutulia, swirl immediately. See 7.00 – 7.05.
***
The crepes will take about a minute or two to cook and brown on each side. Make sure you monitor and regulate your heat so that they do not burn. I grease the circumference with some margarine just so that the edges remain crispy while the body remains soft. That is optional, however I always do it since I enjoy the textural contrast.
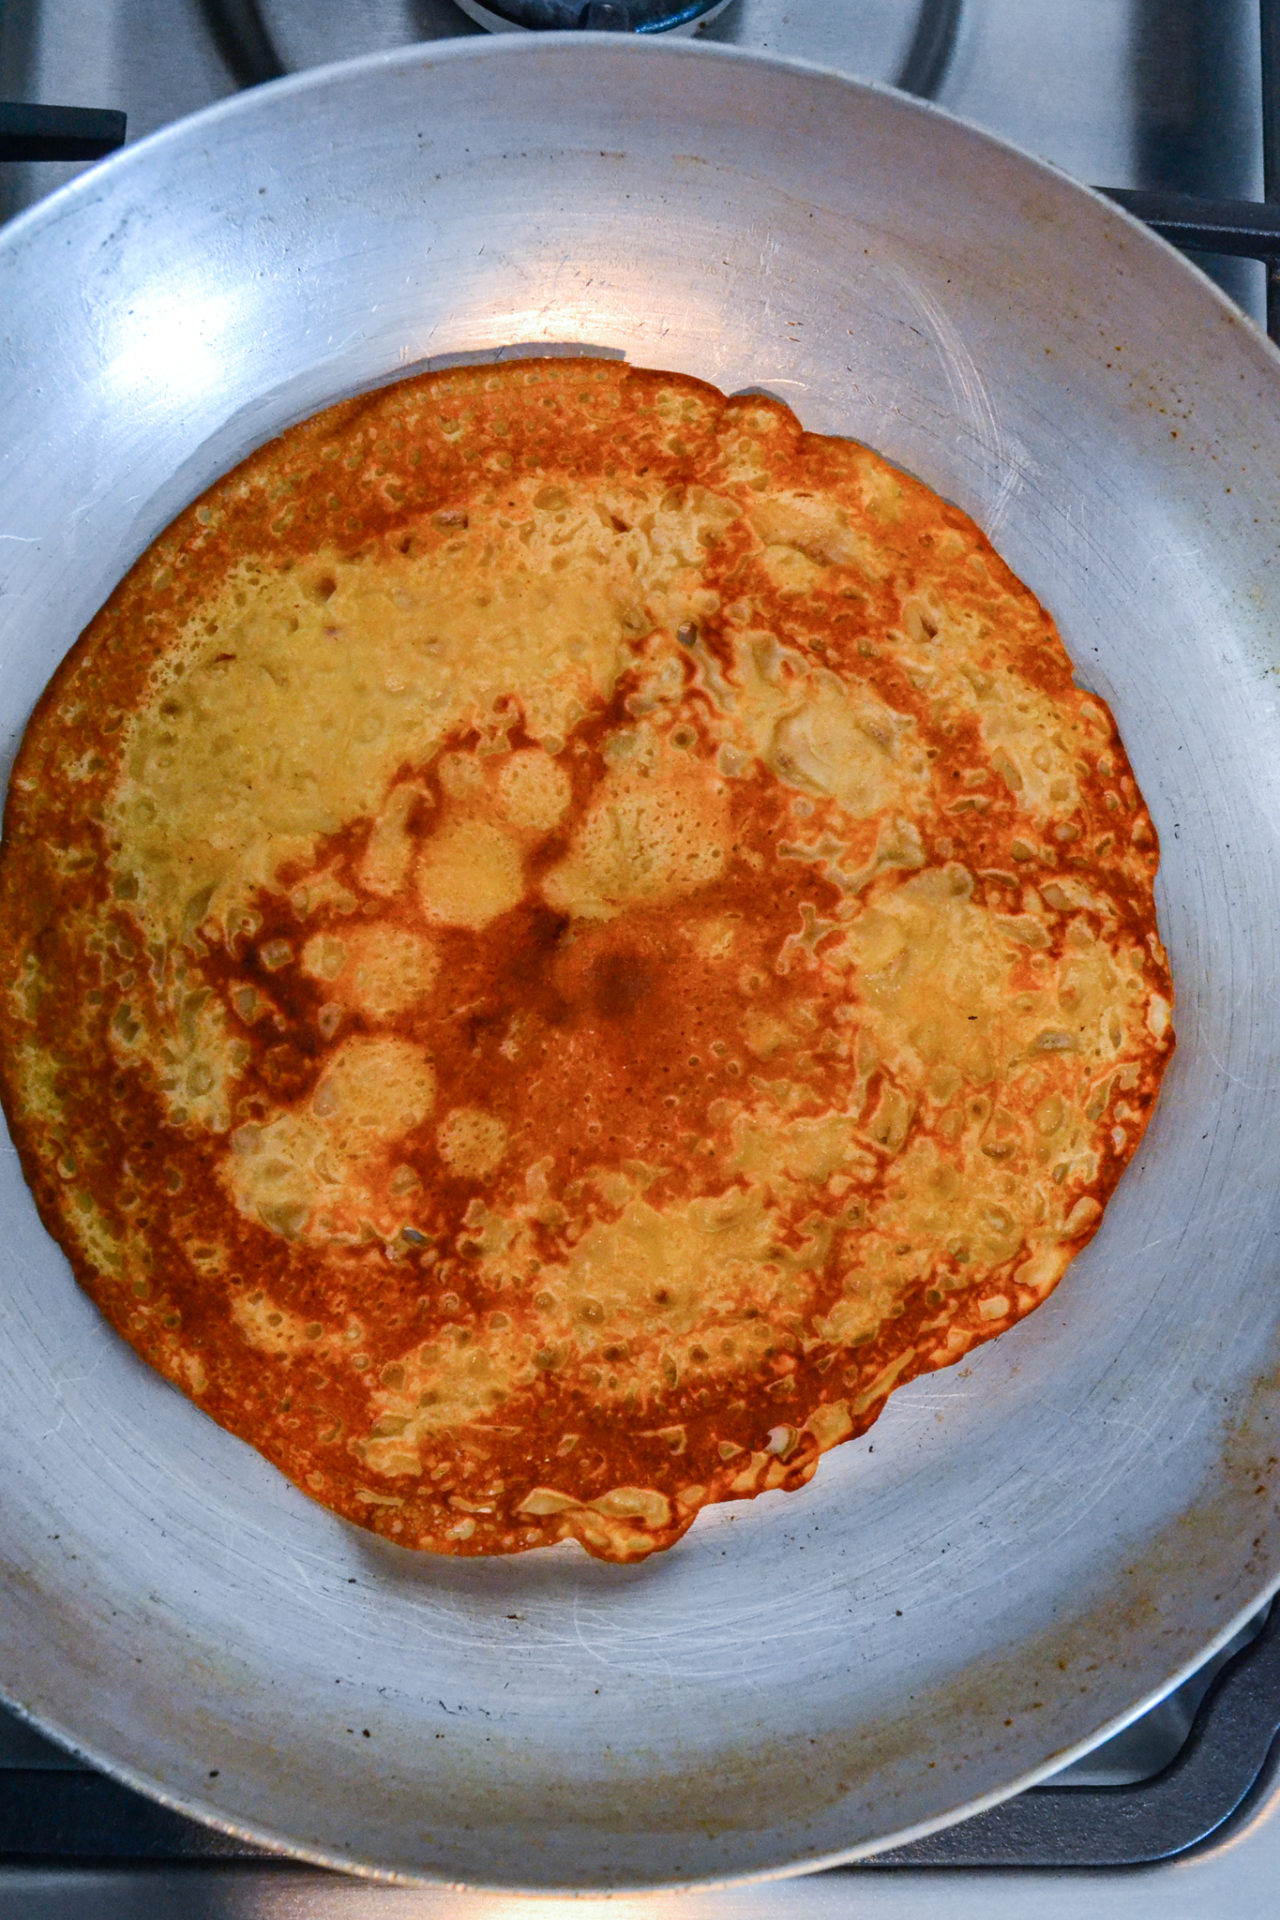
Once done, plate and serve. See how easy that was?
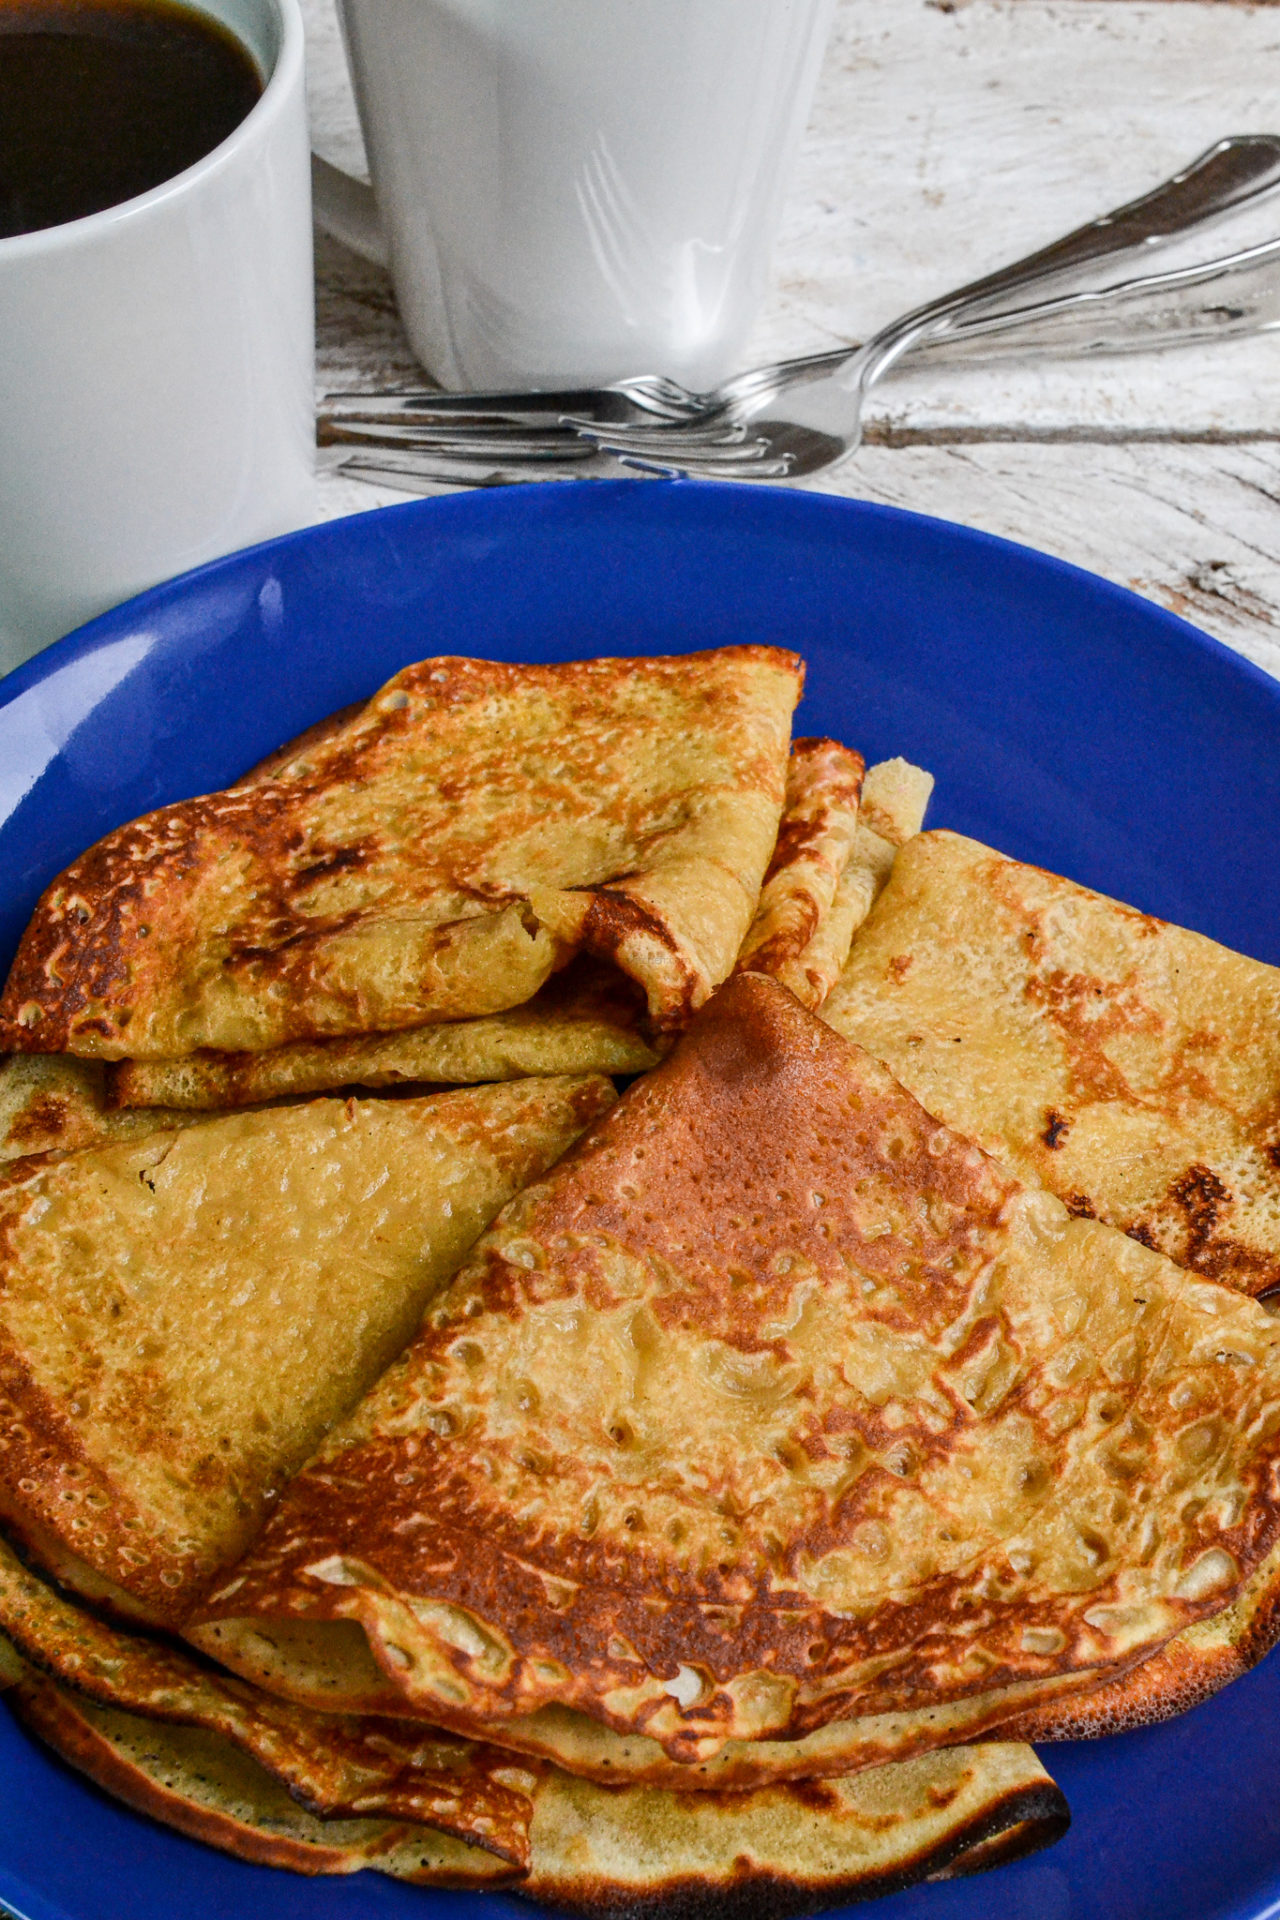
Perfect beauties! Simple flavour but those that always makes brunch and breakfast is ever so delightful! They are soft, light and they go well with nearly everything. The edges were also so delightfully crispy!
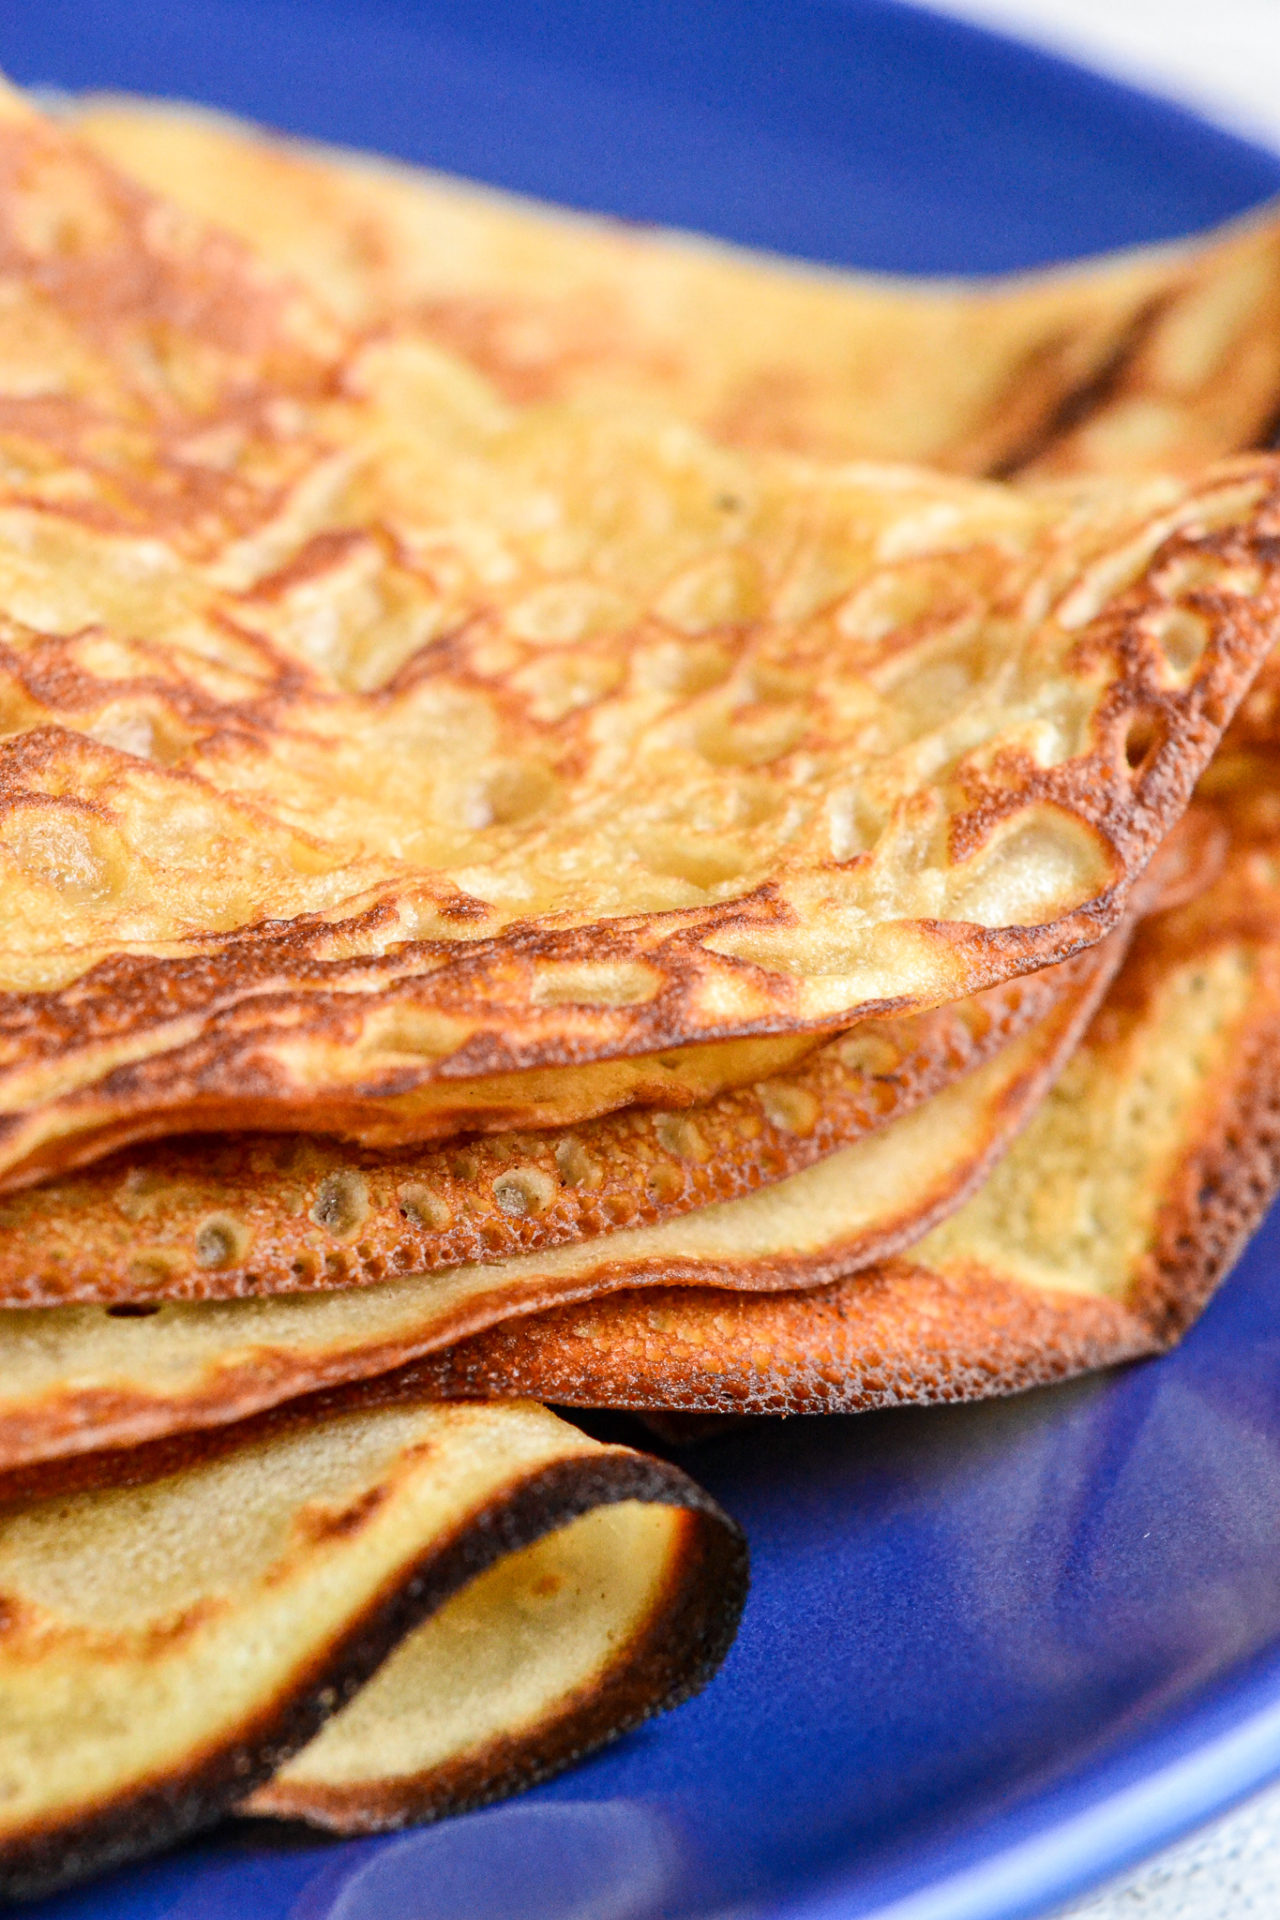
Once you master this foundational crepe recipe, you can spin it a million different ways. You can add warm spices, you can add coconut flakes, you can more from sweet crepes and make savory ones (I have the perfect savory crepes recipe in my book!!) The world is your oyster!
Once you master this one, please check out my coconut crepes recipe, my nutmeg crepes too and these coffee crepes I made when my blog was still so so young back in 2015 (I will do a better, updated version of this soon!). You will enjoy these just as much!
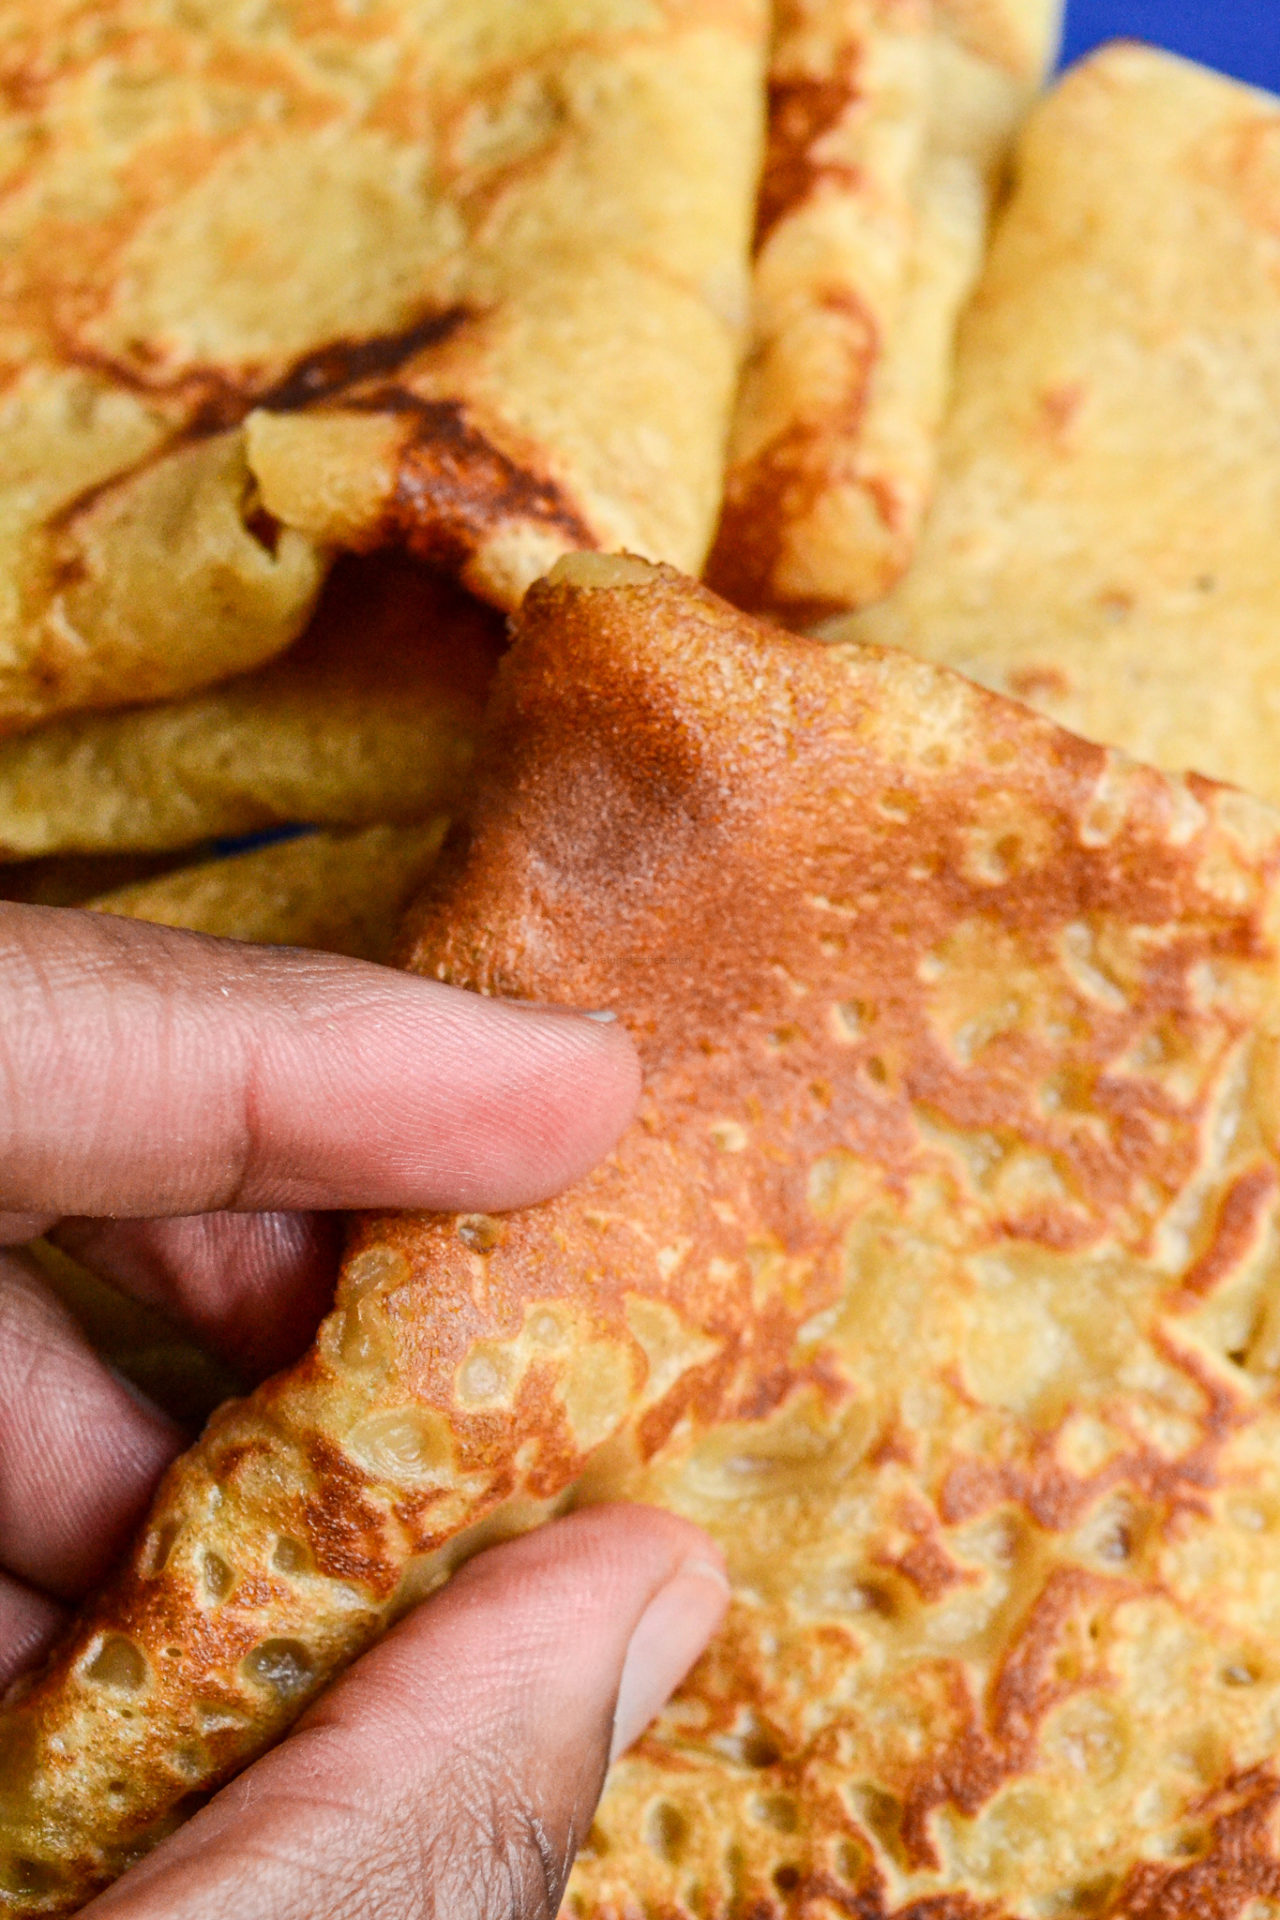
Thank you for joining me for this post! Pass by my channel and watch the complimentary video; it is just as informative and a great visual that shows you in motion how every yummy pic in this post came to be. And do subscribe if you are yet to, I would love to have you.
xx
Get your downloadable recipe here :))
All content and images are copyright protected by

Do not copy in part or whole without giving due credit.


 Hey there! My name is Kaluhi and I love food! Through my blog, I am happy to share with you my self-taught recipes, steeped in nostalgia and the happiest of memories. I hope each recipe you try out is as addictive as the previous one and is shared on a table full of love and hearty laughs!


I would love these any time of day! 🙂 Chocolate and fresh strawberries are my personal favorite
Yum!
Holy moly those look good! I love crepes but Ive never made them in home though. Must try them!
You will really enjoy them!
I fell in love with crepes while living in Germany, so I was happy to find your basic crepe recipes. We love to fill ours with ham and cheese or nutella and bananas.
Crepes, Pancakes…yote ni tamu 😋.
Yote itafit tu kwa tumbo na yote ni tamu!!
This is the perfect crepe recipe!! We had a girls brunch day on the weekend, and made these – so easy to make, turned out even better than expected and was a crowd pleaser! We had all the toppings too that made it extra yummy!
This recipe is absolutely foolproof! And it turned out some delicious crepes that were the perfect texture…so light and airy but so flavorful at the same time!
I never would have known how easy crepes were to make! Mine came out perfectly — thank you so much for the recipe!
I was always so intimidated by making crepes but this recipe was easy to follow and included a lot of details to make me feel confident enough to make them. Well, the crepes turned out so well! Fluffy and light! I them with nutella and macerated strawberries – so delicious!
I have always been too intimidated to make this recipe, but your basic crepes recipe really saved me the headache! They turned out perfect! Thank you so much!
Thank you for breaking down the process of making crepes. Mine came out perfect!
I’ve tried to make crepes so many times and they never turn out. These instructions helped me so much and they came out perfect! Thank you!!!
I really liked your article. Interesting and useful information. Thank you.
Most welcome!